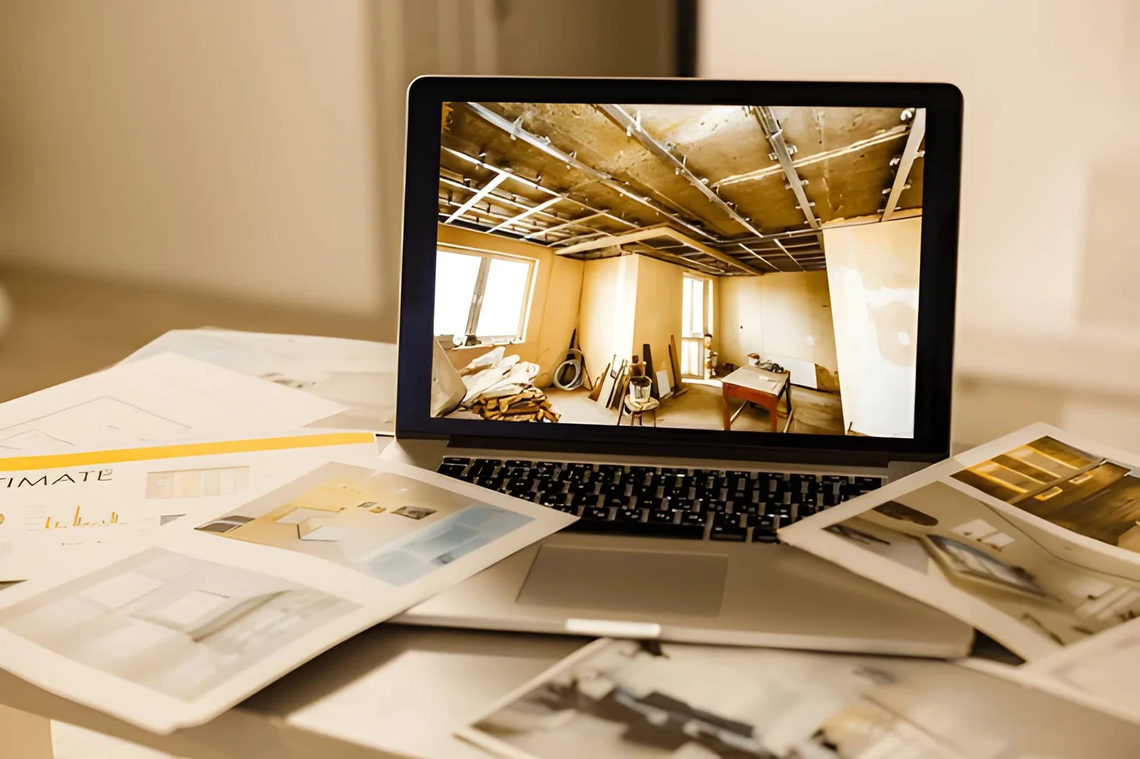
Halfway through a kitchen renovation, the contractor asks a simple question: “Was that crack in the ceiling already there?” You think so. You cannot prove it. Now a small disagreement becomes a repair bill. Photos are the cheapest protection a homeowner can buy, and they take about an hour. Knowing what to photograph before starting a home renovation helps in four situations: disputes with contractors, insurance claims, inspection questions, and the day you forget where a pipe runs behind the wall. This guide explains what to capture, in what order, and how to store it. You will find a quick answer, a room-by-room checklist, a table of hidden systems worth recording, and a simple filing method. You need only a phone and a flashlight. Do it before the first dust sheet goes down, because once demolition starts, the original condition is gone for good.
What Should You Photograph Before Starting a Home Renovation?
Before starting a home renovation, photograph every wall, ceiling, floor, and fixture in the work area, plus existing damage, utility shutoffs, the electrical panel, visible plumbing, and any rooms the crew will walk through. Take wide shots and close-ups, with a tape measure in frame for scale.
Room-by-Room Photo Checklist
| Area | What to Capture | Purpose |
|---|---|---|
| Walls and ceilings | Every surface, cracks, stains | Proves existing damage |
| Floors | Full view plus corners, scratches | Prevents damage disputes |
| Fixtures and cabinets | Brand labels, model tags | Matches replacements later |
| Doors and windows | Open and closed, hardware | Records condition |
| Route from entrance to work area | Hallways, stairs, door frames | Covers crew traffic damage |
| Exterior and driveway | Trim, lawn, pavement | Covers delivery truck damage |
Which Hidden Systems Need Photos?
| System | Photograph | Tip |
|---|---|---|
| Electrical panel | Open panel, breaker labels | Shoot straight on |
| Plumbing | Shutoff valves, visible pipes, water meter | Include the meter reading |
| HVAC | Vents, thermostat, unit data plate | Capture the serial number |
| Gas | Meter and shutoff location | Look only, never adjust |
| Open walls | Wiring and pipes after demolition, before drywall | Add a tape measure |
The last row is the one most homeowners skip, and it pays off most. Once drywall closes, those photos are the only map of what sits behind your walls.
How Should You Take and Store the Photos?
- Turn on date and location tagging in your camera settings.
- Shoot each wall straight on, then each corner.
- Photograph existing damage beside a coin or tape measure.
- Record a slow video walkthrough and describe what you see aloud.
- Name folders by room and date, such as Kitchen_2026-11-02.
- Back up to cloud storage and email a copy to your contractor. Ask for a written acknowledgment.
Frequently Asked Questions
How many photos do I need per room?
Most rooms need 30 to 60 photos. More is better than fewer.
Should I tell my contractor I am taking photos?
Yes. Sharing dated photos at the start keeps everyone on the same page.
What about old paint, insulation, or ceiling tiles?
Photograph them, but do not disturb them. Older homes can contain asbestos or lead paint, so have a licensed professional test before any demolition.
Bottom Line
Spend one hour with your phone before work begins. Photograph every surface, every shutoff, and every existing flaw, then photograph the walls again while they are open. Store everything by room and date, and share it with your contractor. If a dispute, claim, or repair question comes up later, you will have proof instead of memory.
For photographing home renovation ideas must visit https://decoratoradvice.ca/