Most yard decoration advice starts at a store. That’s the wrong place to start.
Before you spend a dollar on new planters, string lights, or patio furniture, there’s a smarter move: look at what you already own and figure out why it isn’t working. Nine times out of ten, the problem isn’t what you have. It’s where it is, how it’s grouped, or what’s sitting next to it.
Decoration tips and tricks Decoradyard takes a different approach — one that works backward from your current space instead of forward from a shopping list. This matters more than most homeowners realize. A misplaced bench, an overcrowded corner, or a single dead zone with no focal point can make an entire yard feel unfinished no matter how much money went into it.
This article covers exactly how to apply these principles without spending anything. You’ll learn how to rearrange what you have, fix common layout mistakes, use existing plants more strategically, and identify the one or two real gaps worth addressing later — if at all.
Why Most Yards Feel Unfinished Even After Decorating
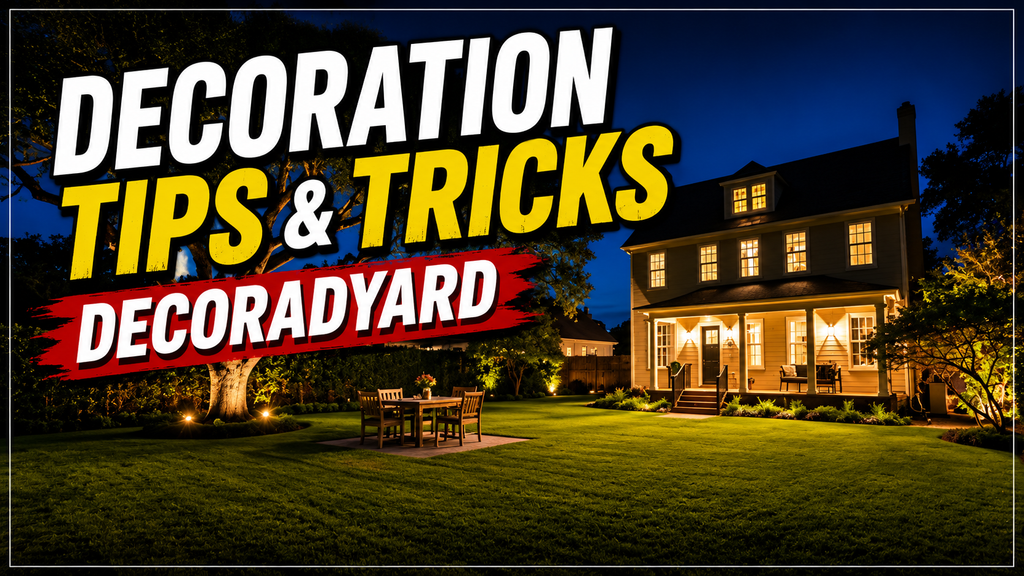
The issue usually isn’t a lack of stuff. It’s placement.
Outdoor spaces fail visually for a handful of repeatable reasons: furniture pushed against fences, plants scattered without grouping logic, no clear path through the space, and lighting (if any) that’s either absent or in the wrong spots. These are layout problems, not budget problems.
Understanding this is the foundation of decoration tips and tricks Decoradyard — fix the arrangement before adding anything new.
| Common Yard Problem | Root Cause | Fix Without Buying |
| Space feels crowded | Too many items spread evenly | Pull pieces into grouped zones |
| Yard looks bare despite having stuff | Items placed along edges only | Move pieces toward center or create a focal point |
| Furniture looks random | No style consistency | Group by material or color family |
| Plants look messy | Single plants dotted around | Cluster in odd-number groups of 3 or 5 |
| No sense of entry or path | No visual flow from one area to next | Use existing pots or chairs to define a natural line |
Step 1: Clear Everything Out and Start From a Blank Slate
This sounds extreme. It works.
Move every movable item off your patio, deck, or yard area. Stack it to one side. Now stand in the space and look at what you actually have to work with: square footage, sun direction, natural focal points like a tree, fence, or view.
Most homeowners have never seen their outdoor space empty. Doing this once resets your eye and breaks the habit of just shifting things around the same layout that wasn’t working.
Step 2: Define Your Zones Before Putting Anything Back
Before a single chair goes back, decide how many zones the space needs. For most US yards, three zones cover everything: a seating area, a dining or activity area, and a transition zone with plants or lighting that connects them.
| Zone | Purpose | Minimum Items Needed |
| Seating zone | Relaxing, conversation | 2 chairs or a bench + side surface |
| Dining / activity zone | Eating, games, kids’ play | Table or open ground with defined edges |
| Transition zone | Visual flow, privacy, softness | Potted plants, a trellis, or a path marker |
Resist the urge to combine all three into one crowded corner. Separation — even a few feet of open space between zones — makes a yard feel larger and more intentional.
Step 3: Reposition What You Already Own
Now bring items back in, one zone at a time.
Furniture: Pull seating away from fence lines. A chair pushed flat against a fence looks like it’s waiting to be used, not actually in use. Angle pieces toward each other or toward a focal point instead. If you have a fire pit, small table, or large planter, that becomes the anchor — pull seating around it at a conversational distance, roughly 6 to 8 feet across.
Plants: Group existing pots together rather than spacing them evenly around the perimeter. Three pots of different heights clustered in one corner read as a designed moment. The same three pots spread 10 feet apart read as afterthoughts.
Smaller objects: Lanterns, garden stakes, decorative stones, and trellises all work harder when they define a boundary or mark a transition rather than sitting in the middle of open ground with no context.
Step 4: Fix Lighting With What You Have
Lighting is the most overlooked element in decoration tips and tricks Decoradyard for existing spaces. Most homeowners either have no outdoor lighting or have a single overhead fixture that washes everything in flat, harsh light.
Before buying anything, check what you have indoors:
- Solar stake lights stored in a garage
- Candles or lanterns used seasonally
- Extension cords that could reach an outdoor outlet
- Battery-powered LED lights from holiday decoration boxes
Redeploying even two or three existing light sources — one near the seating zone, one along a path or step — changes the feel of a yard completely after dark.
Step 5: Edit, Don’t Add
The single most impactful thing most US homeowners can do with their yard right now is remove things, not add them.
| Items Worth Removing Temporarily | Why It Helps |
| Decorative items under 6 inches tall | Too small to read at yard scale, adds visual noise |
| Duplicate planters in different styles | Style inconsistency makes the yard look unplanned |
| Furniture pieces with no clear function | Creates dead zones that feel awkward |
| Faded or broken accessories | Draws the eye for the wrong reason |
Box these items and live without them for two weeks. If you don’t miss them visually, they weren’t contributing. If you do, put them back with intention — meaning a specific spot with a specific reason.
Frequently Asked Questions
What does decoration tips and tricks Decoradyard mean for someone with a small US yard?
It means the same principles apply at a smaller scale. A 10×10 patio still benefits from zone definition, grouped plants, and angled furniture. Smaller spaces actually respond faster to rearrangement because every change is more visible.
How long does it take to rearrange a yard using this approach?
Most smart home owners complete the full reset — clearing, zoning, repositioning, and editing — in three to four hours on a Saturday morning. No tools required beyond moving furniture and pots.
Should I rearrange my yard before or after the growing season?
Either works, but early spring is ideal in most US climate zones. You catch the space before summer use begins and can adjust plant groupings as things start growing.
What’s the one rearrangement that makes the biggest difference?
Pulling furniture away from perimeter walls and fences. It’s the change most people resist and the one that consistently makes yards feel more like designed spaces.
Is this approach different from what most outdoor decor articles recommend?
Yes. Most outdoor decor content tells you what to buy. These decoration tips and tricks Decoradyard principles tell you what to do with what you already have — which is a more honest and more useful starting point for most homeowners.
The Real Test of a Well-Decorated Yard
Stand at the entry point to your outdoor space — the back door, the gate, wherever you first see it — and answer one question: does this look like someone lives here and uses this space, or does it look like furniture waiting to be arranged?
If it’s the latter, the fix is almost never new purchases. It’s a cleared slate, a defined zone, and furniture pulled into conversation with itself rather than pressed against the walls.
Decoration tips and tricks Decoradyard work because they start with reality — your actual space, your actual stuff — and show you how to make it work before you spend a cent. Find more tricks at https://decoratoradvice.ca/